Start The Process
Submit your contact details & we'll reach out to you shortly.

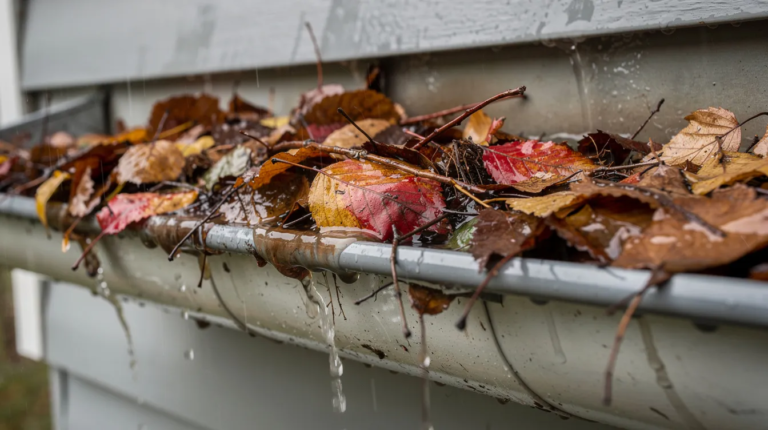
A drip under your gutter during a rainstorm does not always mean the whole gutter system needs replacing. Most leaks start small, and many can be fixed in a single afternoon with the right materials and method. This guide walks through each repair scenario step by step, from cleaning and diagnosis through patching, sealing, and knowing when to hand the job to a professional.
Most small gutter leaks around seams and a leaking gutter joints can be resolved same-day. Gutter leaks can be fixed with gutter sealant or patch kits, and repair methods depend on the size and location of the leak. Here is the basic sequence:
How you proceed beyond those three steps depends on what you find:
Homeowners in West Springfield, MA and nearby towns can request a free on-site estimate from Custom Gutters LLC if the leak is extensive, the gutter is sagging badly, or ladder access is unsafe.
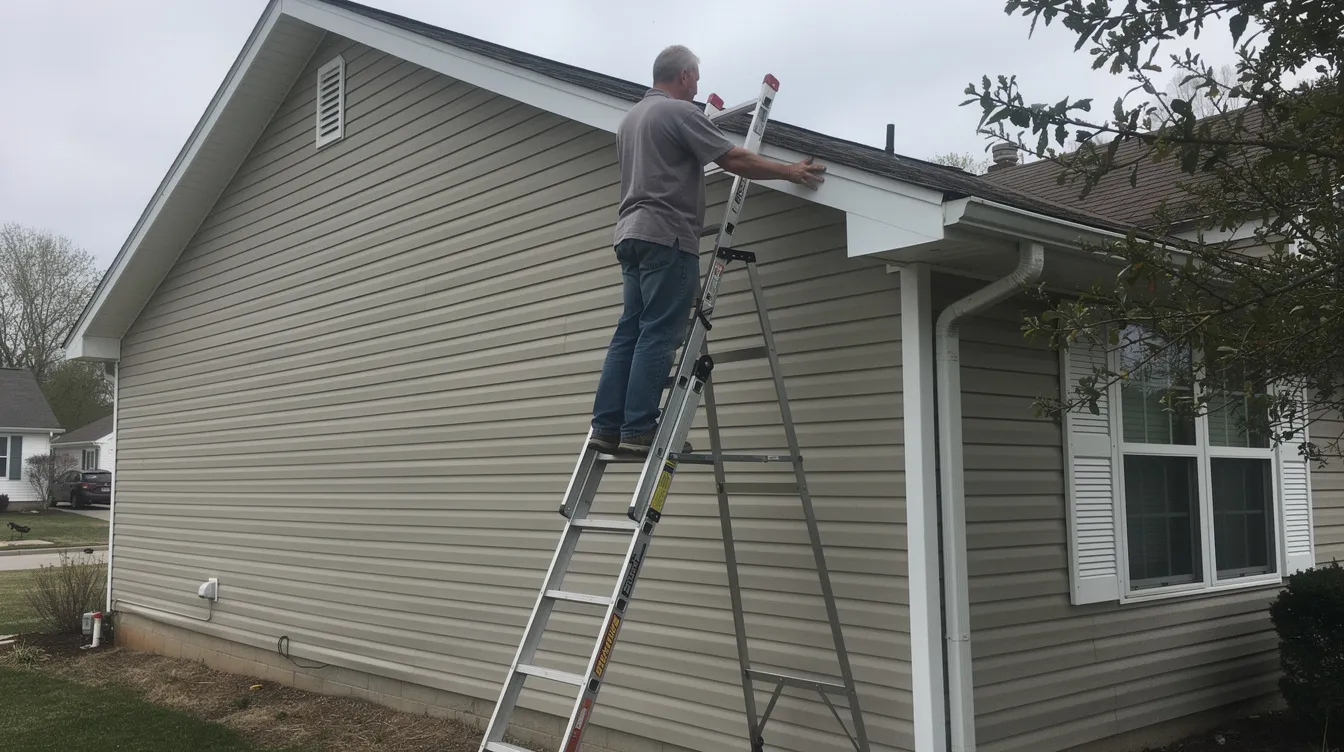
Fixing a leaking gutter is not worth a fall. Safety equipment is crucial when working on ladders; plan your setup before you climb.
If the roof pitch is steep, the gutter is above the safe reach of your extension ladder, or you are uncomfortable working at height, stop. Call a local professional like Custom Gutters LLC rather than risk an injury.
You cannot correctly fix gutter leaks until you clean gutters and remove all debris around the leak area. Debris like leaves and dirt should be removed before applying any sealant; otherwise the product bonds to loose material instead of metal.
Start near each downspout and work along the run. Use a gutter scoop to remove debris effectively; pull out compacted leaves, twigs, pine needles, and roof grit. For stubborn buildup, a plastic scoop protects the gutter surface from scratches.
Rinse the entire run with a garden hose. Running water flushes small particles and reveals hidden leaks at seams, joints, and end caps. Watch the underside of each joint; a drip from below signals a material breach, while overflow over the front or back edges points to a clog or slope problem.
If a downspout is blocked, feed a plumber’s snake through the pipe or flush it from the top with hose pressure. Blockages can push water out through gutter joints, mimicking a seal failure when the real issue is a clog downstream.
Dry the leaking gutter section completely before proceeding. Sun exposure for 30 to 60 minutes works well on a clear day; a clean towel speeds the process on overcast mornings.
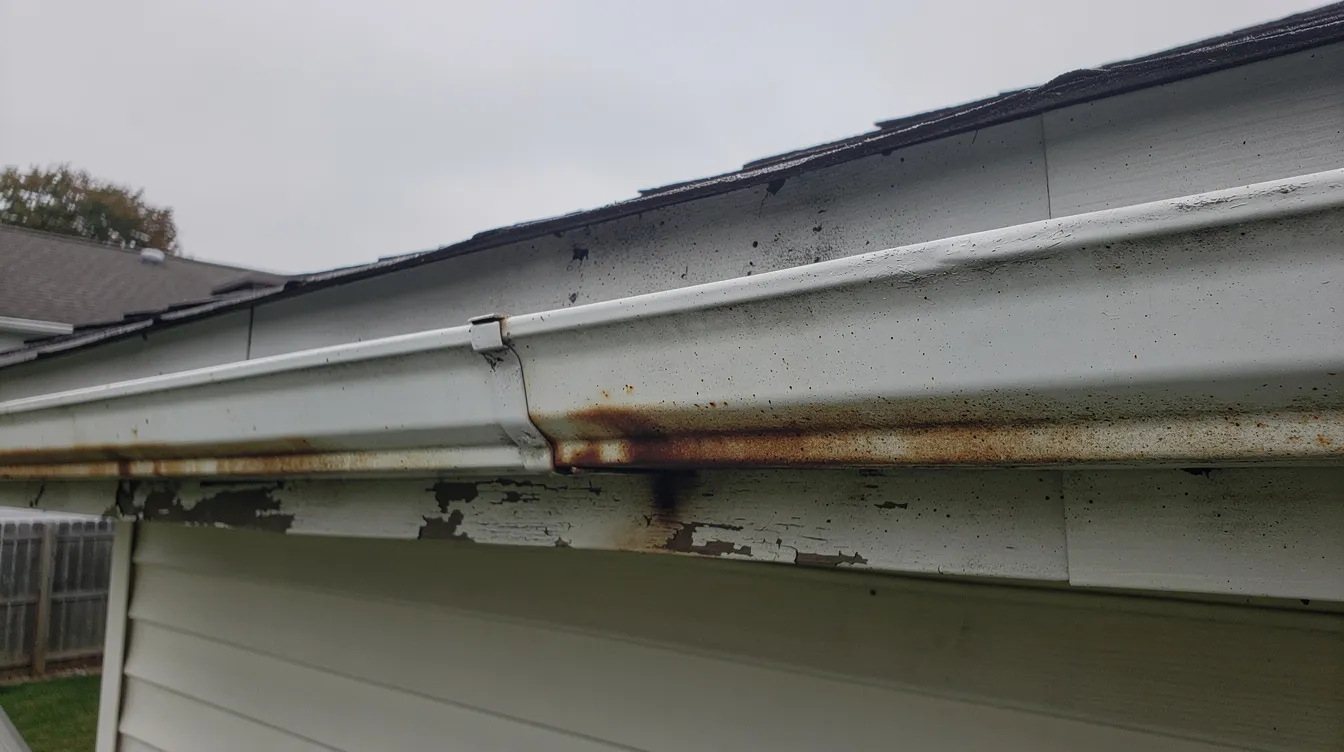
Once gutters are clean, inspect the full run for a leaky gutter, dripping joints, small holes, rust, and signs of sagging. Water behind gutters often indicates missing flashing or improper installation at the roof edge; check whether the drip edge directs water flow into the trough rather than behind it.
Trace water stains on the siding, fascia, and ground to find the exact location of a leak. The actual source may be upstream from the visible stain; water travels along seams before it drips.
Check these key points:
Pull gently on hangers and brackets. Loose hangers, bent brackets, and pulled fasteners cause sagging gutters, which in turn stress joints and create low spots where water pools. Rotten or soft fascia boards will not hold fasteners; press the fascia with a screwdriver tip to test for rot.
Note the gutter material: aluminum, galvanized steel, vinyl, or copper. This determines which sealant chemistry and patch material will bond properly.
Small holes and pinholes are common causes of localized gutter leaks. On metal gutters, they typically form where standing water sits and rust eats through. Gutter sealant is needed for small holes like these.
Surface prep: Use a wire brush to scrub loose paint, rust, and old caulk from the area around each hole. Scrape residue with a putty knife. Gutters must be free from moisture before sealing to ensure adhesion; wipe the cleaned spot dry and, on metal surfaces, swab with mineral spirits to remove oils.
Applying sealant: Run a bead of gutter sealant on the inside of the gutter over the hole. Smooth it with a gloved finger so it extends at least one to two inches beyond the damaged area on all sides. Sealants should be 100% waterproof and flexible for gutter use; rigid products crack during freeze-thaw cycles common in New England.
For slightly larger small holes (around ¼ to ½ inch), press a small piece of matching aluminum patch or mesh into wet sealant and apply a second coat over the top. The gutter sealant should be compatible with the gutter material to avoid galvanic corrosion; an aluminum patch on an aluminum gutter is the safest pairing.
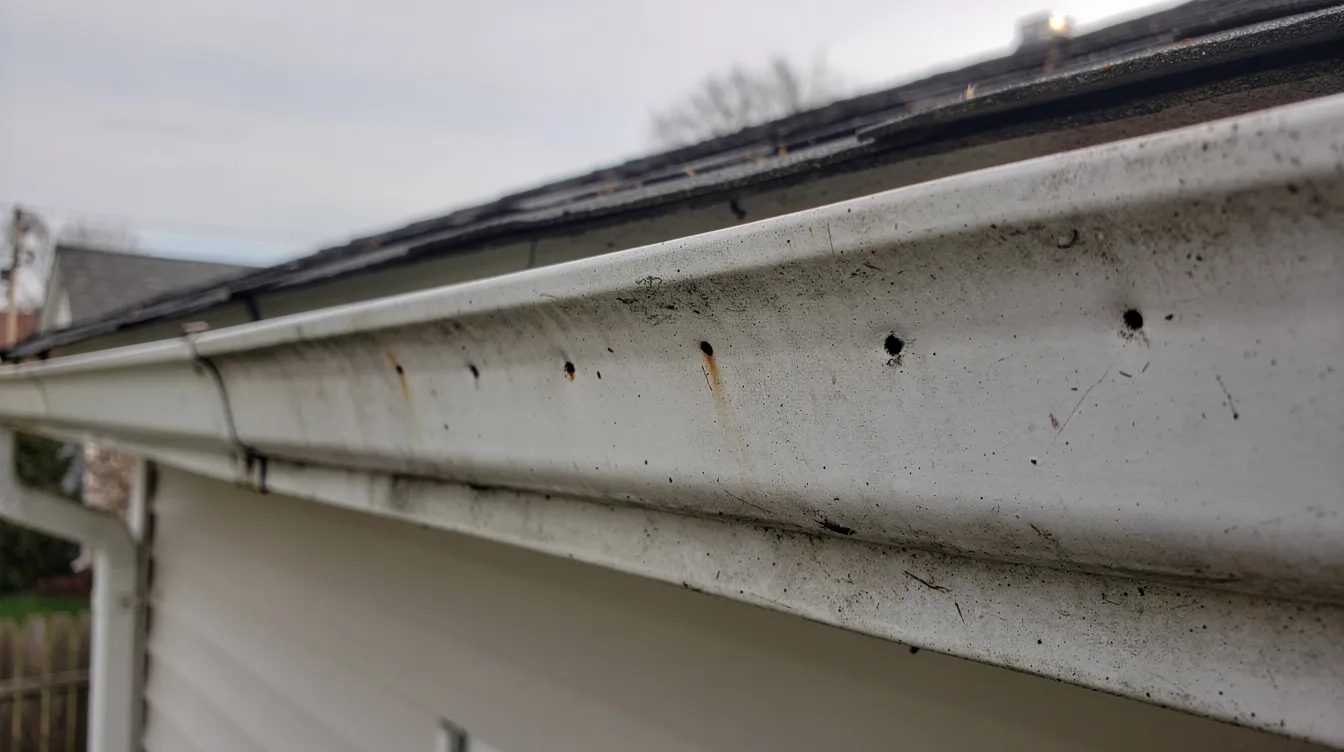
Leaking gutter joints and seams are among the most common gutter leaks on sectional gutter systems. Gutter joint leaks often result from worn or dirty seals, and old sealant can dry out and fail at gutter joints after several seasons of UV exposure and thermal cycling.
Remove old sealant: Scrape cracked or hardened material from the seam with a putty knife. Be careful not to deform thin aluminum edges. Clean the bare surface with denatured alcohol or a similar solvent to improve the mechanical bond. (Ace Handyman Services recommends roughening the surface lightly for better adhesion.)
Apply new sealant: Seal gutter seams with high-quality seam sealer; seam sealer is essential for sealing gutter seams because it penetrates the joint gap. A seam sealer should be runny enough to penetrate gutter seams effectively rather than sitting on top. Polyurethane or tripolymer sealants are effective for gutter repairs; trade-standard products include Geocel 2320 and OSI GS121. Avoid general-purpose silicone caulk on aluminum; it often loses adhesion unless the surface is meticulously prepped.
If there is any gap at the joint, gently press the seam together before the sealant skins over. Smooth the bead so it fully bridges and overlaps both sides of the seam.
Replacing old gaskets can prevent future gutter joint leaks on systems that use rubber gasket connectors. Allow sealant to cure for at least 24 hours before testing with water; most products reach full cure in 24 to 72 hours depending on humidity and temperature. After curing, run a hose through the gutter run and watch the underside of the repaired joint to confirm the leaky gutter seam is sealed.
| Gutter Material | Recommended Sealant Type | Example Products |
|---|---|---|
| Aluminum / galvanized steel | Butyl rubber or tripolymer hybrid | Geocel 2320, OSI GS121, Amerimax SeamerMate |
| Vinyl / plastic | Silicone-polyurethane blend | 100% silicone, hybrid sealants |
| Copper | Butyl rubber | Same as aluminum; match patch material |
When a hole, crack, or rusted area is too large for sealant alone, a gutter patch kit or waterproof repair tape is the next step. Gutter patch kits are used for larger holes where sealant by itself cannot bridge the gap.
Most kits include a metal or reinforced patch and compatible sealant. The surface must be cleaned and dried before installation; follow the same wire brush and solvent prep described above.
Cut the patch or tape so it extends at least one to two inches beyond the damaged section in all directions. Press firmly into place, working out air bubbles from the center toward the edges. On curved gutter profiles, roll a small wooden dowel or the handle of a screwdriver across the patch to seat it against the gutter wall.
Gorilla Waterproof Patch and Seal Tape is effective for gutter leaks; the product is 4 inches wide by 10 feet long, which covers several small repairs from a single roll. Seal the edges of any tape with a thin bead of compatible sealant to prevent peeling under thermal cycling.
Patch kits and tape are often a medium-term fix. Replacement of heavily damaged gutter sections may be necessary if the metal is extensively rusted, buckled, or brittle from UV exposure. If you find yourself patching the same run repeatedly, a new gutter section, or a complete gutter installation, will cost less over time than annual repairs.
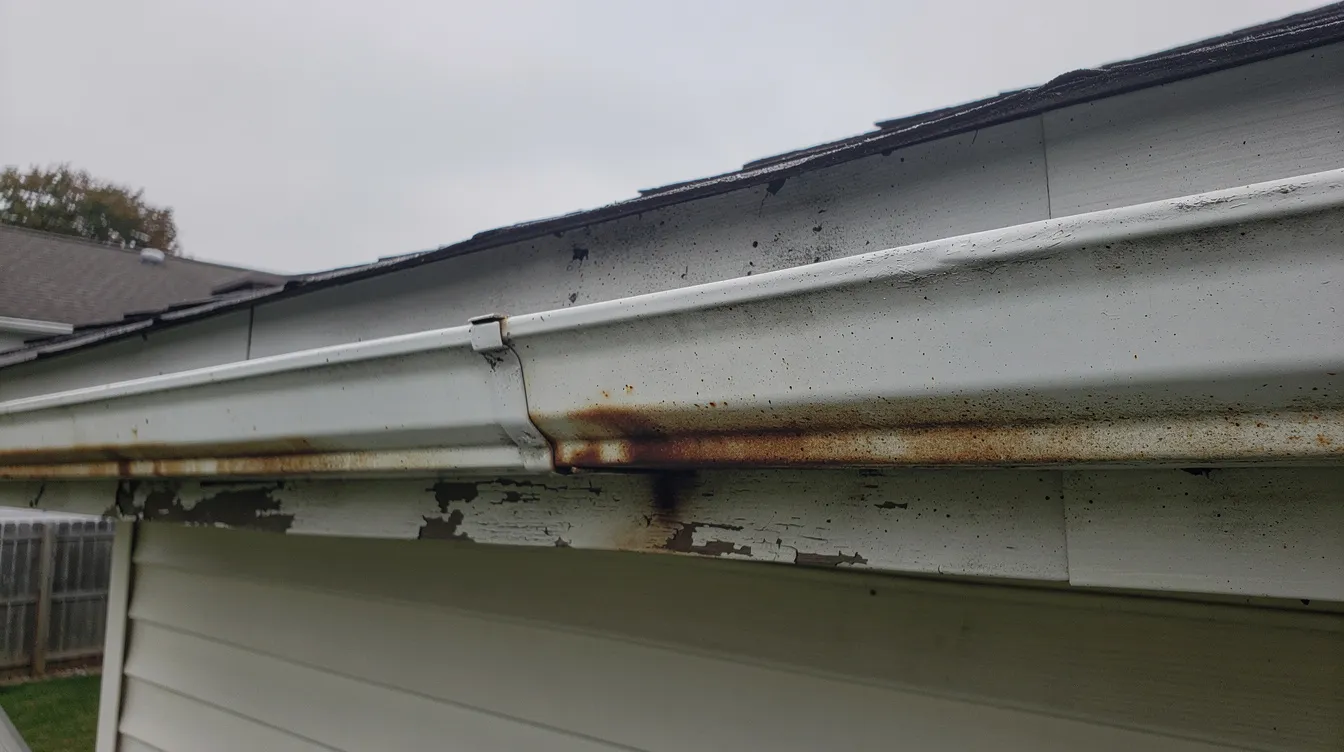
Sagging gutters cause water to pool at joints, stressing seams and creating chronic gutter leaks. Before resealing any joint on a sagging run, fix the structural problem first.
Check the slope with a level. The standard pitch is about ¼ inch per 10 feet of gutter run toward each downspout. If the gutter is flat or reversed, loosen hangers, adjust height, and re-secure with screws driven into structural members (rafter tails, not just fascia skin).
Tighten or replace loose hangers and brackets. Add hangers between existing ones where the gutter bows under water weight; spacing should be roughly 24 inches apart on straight runs for aluminum and steel sectional gutters. Hidden hangers that attach through the fascia into rafter tails carry more load than spike-and-ferrule styles.
If fascia boards are soft, cracked, or rotten, hangers will pull free under the weight of wet debris or ice. Replace the damaged fascia before refastening gutters.
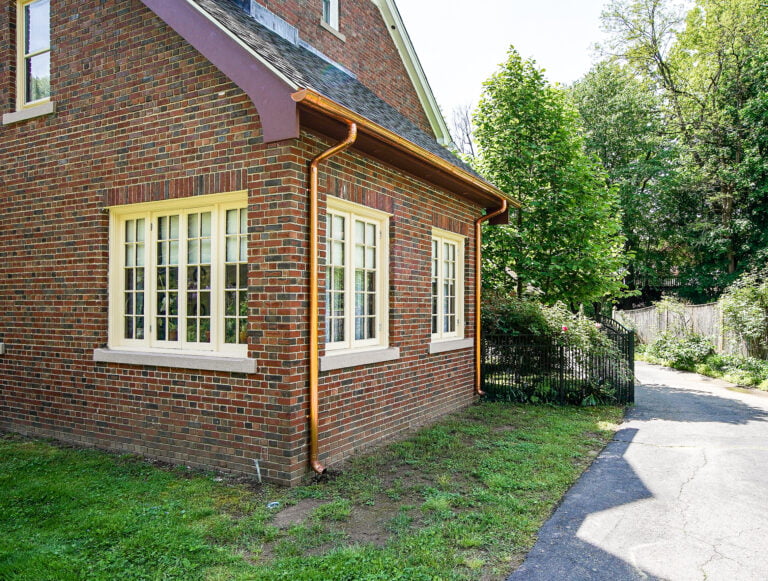
Owners near West Springfield, MA can have Custom Gutters LLC evaluate whether a sagging run is better repaired with new seamless gutters. Seamless systems have joints only at corners and downspout outlets, which reduces leak-prone seams across the full run.
Regular maintenance reduces the need to repeatedly fix gutter leaks and protects your home’s foundation and siding from water damage. Cleaning gutters is crucial for proper maintenance, and the cost is low compared to structural repairs.
Stop DIY attempts when you encounter any of these signs:
A local specialist can diagnose root causes that repeat patching will not solve. Custom Gutters LLC is a family-owned contractor in West Springfield, Massachusetts. We offer installation, repair, cleaning, gutter guards, and free estimates within about a 20-mile radius, covering Springfield and surrounding communities. Commercial properties with industrial or large-scale gutter systems are also in our service scope.
Custom Gutters LLC backs all work with a 5-year labor warranty and 20-year manufacturer warranties. That coverage makes professional repair or a new seamless gutter system a long-term solution compared to repeated patching with tape and sealant that may fail in two or three seasons.
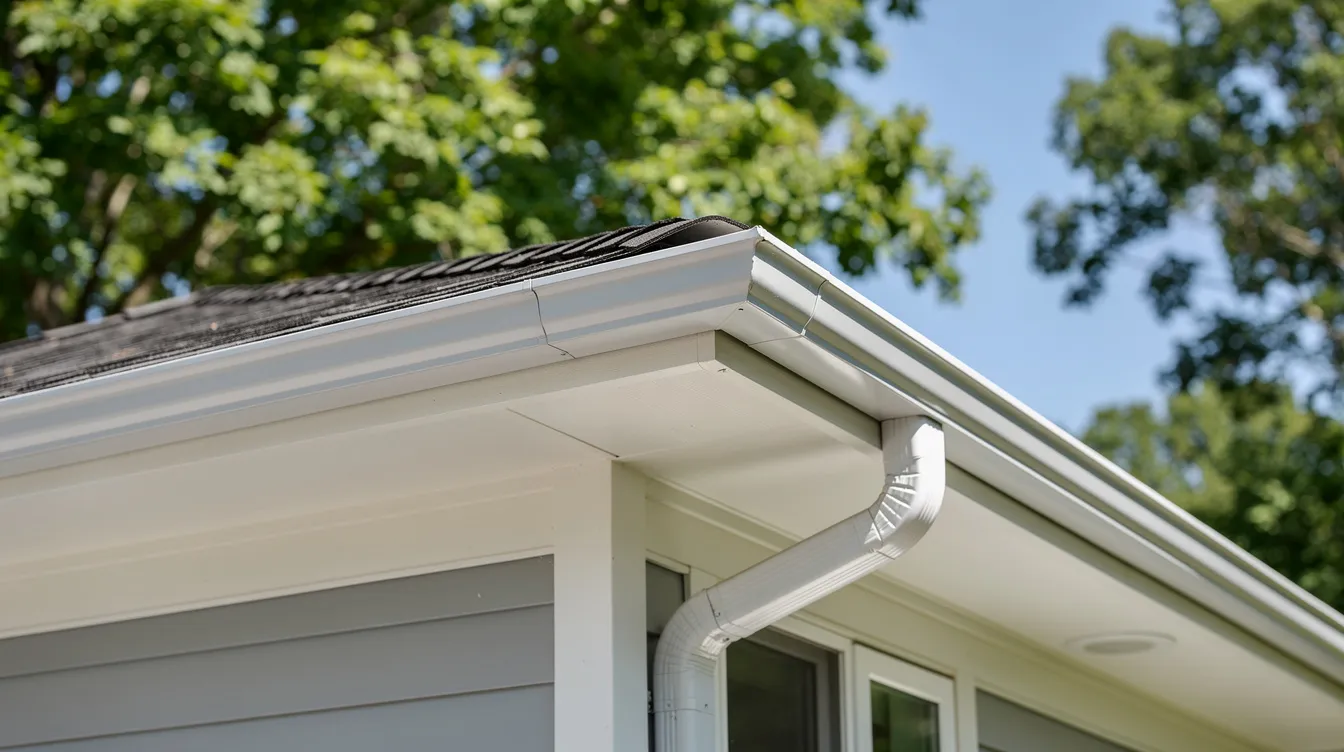
Small holes and minor leaks at gutter seams can usually be handled with cleaning, the right gutter sealant, and careful application on a dry surface. For larger holes, rusted areas, and sagging gutters, gutter patch kits, new hangers, or replacement gutter sections deliver a more durable fix.
Regular maintenance ties everything together: clean gutters, inspect joints and brackets each season, and address minor issues before rainwater turns them into structural problems around your home’s foundation.
If you are a homeowner or property manager in or around West Springfield, MA, contact Custom Gutters LLC for a free estimate on leaky gutter repairs, new seamless gutters, or gutter guard installation. We will inspect, diagnose, and complete the repair so you do not have to climb the ladder again.